
If you are ever touring in the beautiful Box Hill area of Surrey, South England, you might well find yourself driving through the village of Kingsfold. It is only a small place, although there's a pub called "The Owl" where you can find some old beams, cozy log‐burning fires and a warm welcome.
However, Kingsfold is famous not so much for its beer but instead as the location where the composer Vaughan Williams heard an old folk song when he was visiting in 1904. He was enchanted by the tune and arranged it as the setting for a hymn. It became known as "The Kingsfold Hymn" and has become a firm favourite for choirs and organists across the world.
However, Kingsfold is famous not so much for its beer but instead as the location where the composer Vaughan Williams heard an old folk song when he was visiting in 1904. He was enchanted by the tune and arranged it as the setting for a hymn. It became known as "The Kingsfold Hymn" and has become a firm favourite for choirs and organists across the world.
I heard it recently at St Johns' College in Cambridge and the mesmerising melody stayed in my mind long after we had returned to the blustery quadrangle outside.
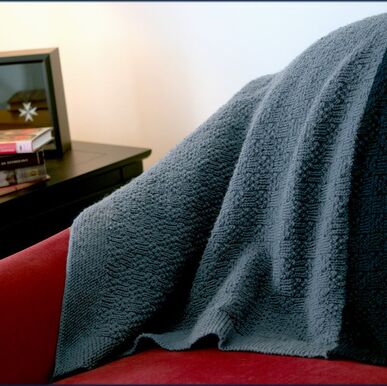
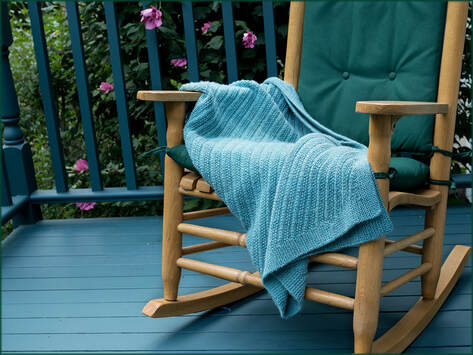
The students were making their way to their dorm rooms, coats well buttoned‐up and scarves madly flapping in the breeze. I sat in a cafe with a steaming cup of tea and started casting on what would later become the Kingsfold Dorm Room Throw.
The students were making their way to their dorm rooms, coats well buttoned‐up and scarves madly flapping in the breeze. I sat in a cafe with a steaming cup of tea and started casting on what would later become the Kingsfold Dorm Room Throw.
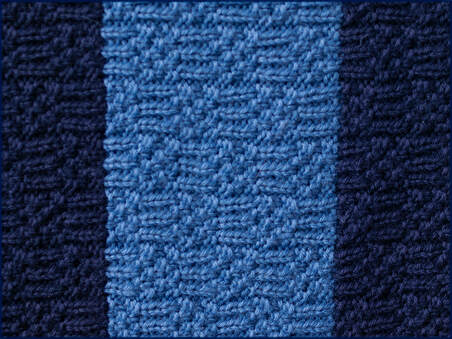
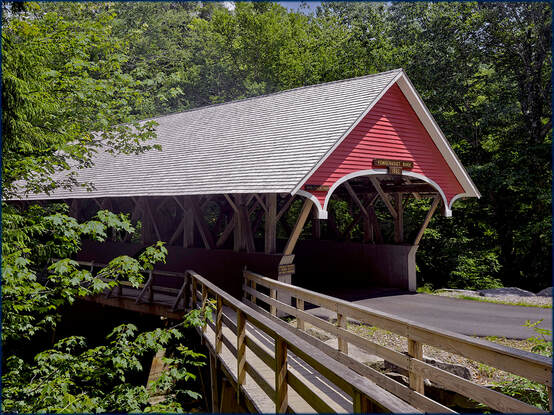
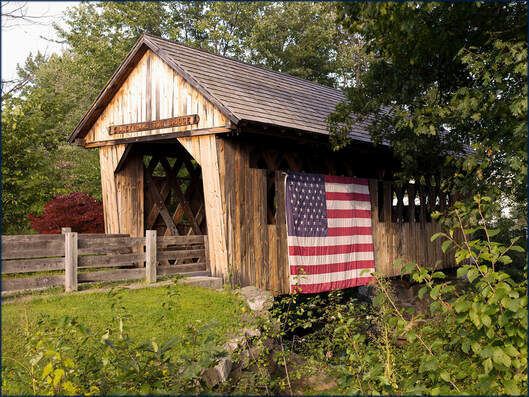
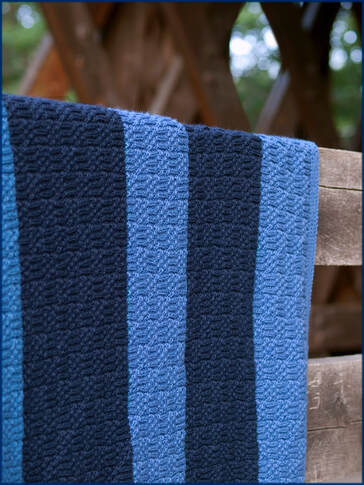
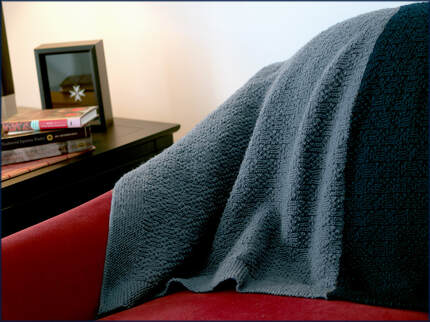
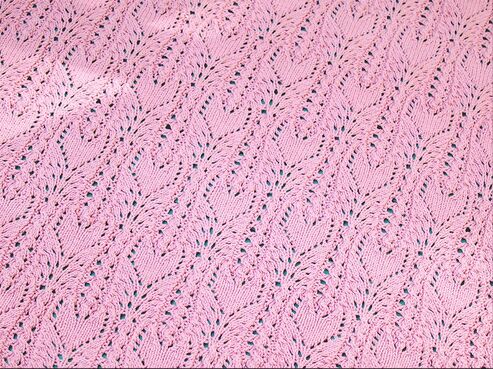
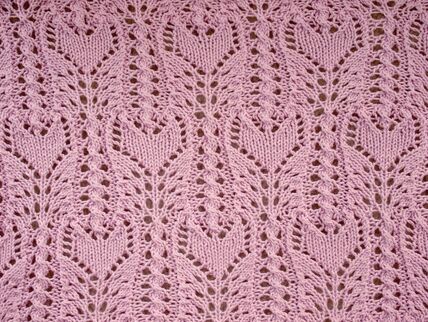
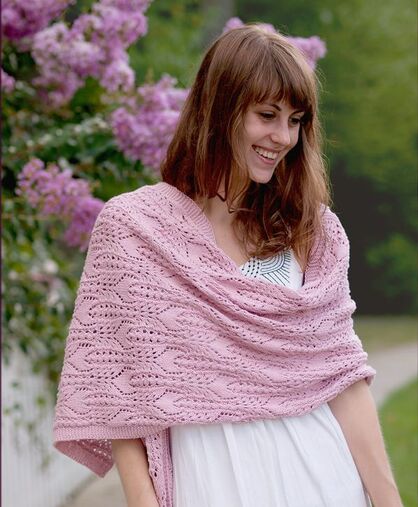
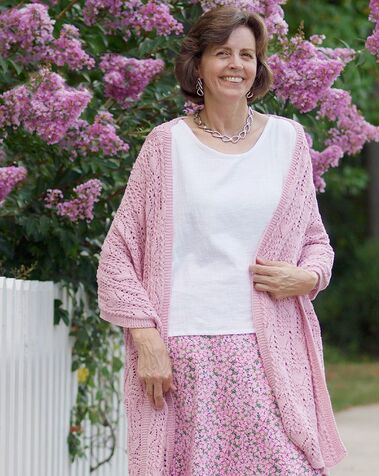
That first one was worked using in a two‐tone grey colour‐block pattern but I so enjoyed working on it, that I started work on a second striped one straight away. You can see a detail from that throw in the photo above and there is also another picture of it draped over the fence by a covered bridge here.
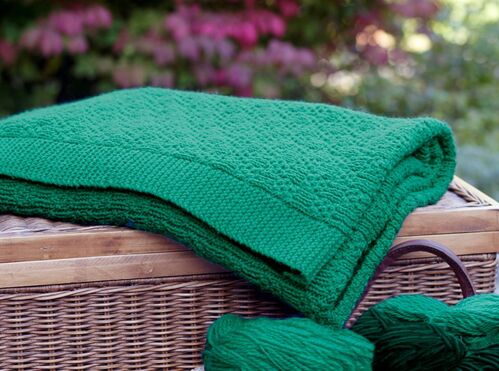
Then I made a third version in a lovely bright green! I stopped then, but I might well return to this again as it looks so different in each new colourway.
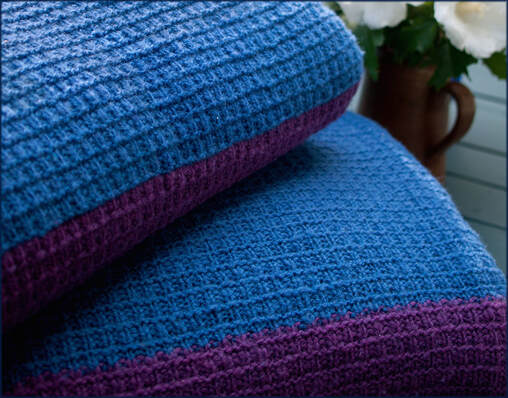
I love working throws and blankets at this time of year anyway because it keeps your knees warm as you work! The knitting seems to keep pace with the weather, steadily growing as the temperatures fall. This one proved to be super‐cozy as the stitch pattern is very textural so helps to enclose small pockets of air.
The throw is a good size to go over the back of a sofa but can also be used as an extra layer on top of a bed. And of course if your dorm room is as cold as mine was, then you could wrap yourself up in it so that you keep the draughts away while you are studying!
For more details about the new Kingsfold Dorm Room Throw pattern, please click here.
Happy Knitting!
Moira
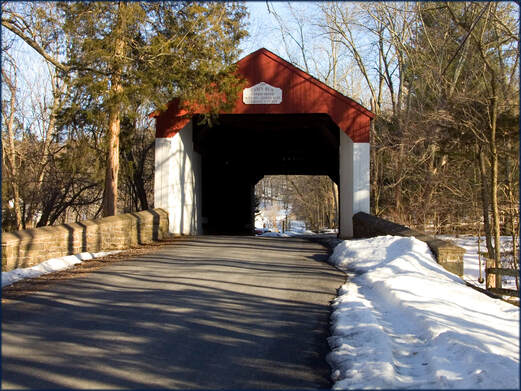
 | Last Blogpost: In praise of covered bridges Next Up: Chalfont Scarf Our book: Reversible Knitting Stitches My Website: www.wyndlestrawdesigns.com |
Keywords: Patterns/Blankets,
blanket, blankets, afghan, throw, reversible blanket, reversible stitch, knitting stitch, reversible pattern,
blanket, blankets, afghan, throw, reversible blanket, reversible stitch, knitting stitch, reversible pattern,


