28 December 2013

The Lamberhurst Scarf

Lamberhurst Scarf by Moira Ravenscroft, Wyndlestraw Designs
I love this time of year. The almost-chaotic build up to the holiday season has passed and a quiet contentment has set in. Good food, good company and lots of plans for the year ahead.

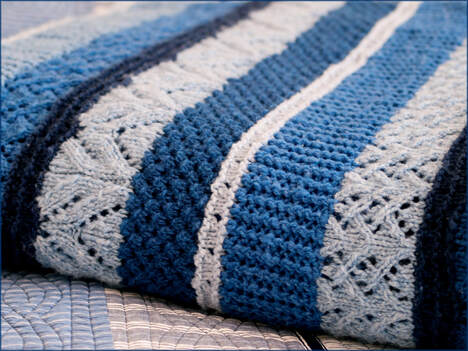
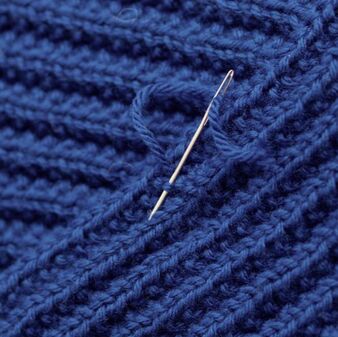
Many people feel a bit gloomy at the thought of the long, dark winter evenings ahead, but for us knitters this is not an issue. If it's cold outside, you can curl up in front of a warming fire and either start working on an item that have been languishing for a while in the "To Do" basket or start a brand new project.

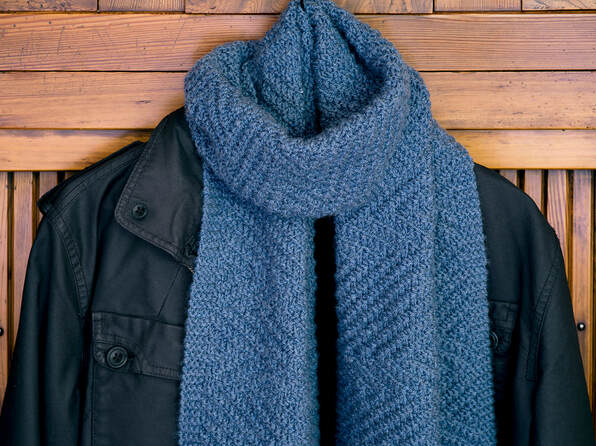
Well, here's a new scarf pattern that might be a good choice for that fire-side knitting session — the Lamberhurst Scarf. I designed this as a man's scarf, but with a different choice of yarn or colour it could just as easily work for ladies too.
Lamberhurst Scarf by Moira Ravenscroft, Wyndlestraw Designs
I started knitting this on my birthday earlier this month. It wasn't one of those "special" birthdays, nothing with a '0' or a '5' at the end, but each one counts doesn't it?

However, I got to musing on previous birthdays and I recall one unusually warm December day walking in Lamberhurst in Kent. We had togged ourselves up with mittens and scarves, but on that day they weren't needed. So we carried them in our hands as we walked along and enjoyed the winter sunshine slanting through the trees.

I expect had we been walking there today it might have been a different story, as it's very chilly right now!
Lamberhurst Scarf by Moira Ravenscroft, Wyndlestraw Designs
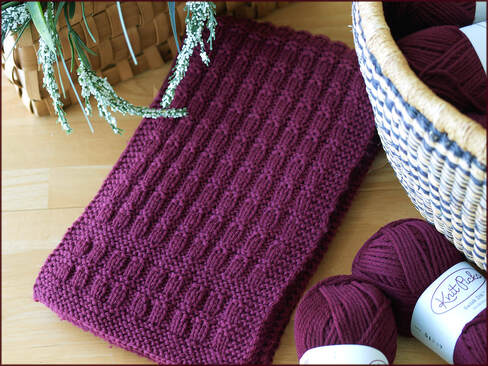
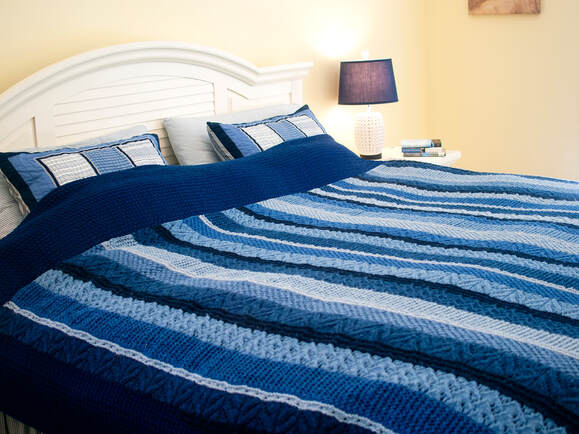
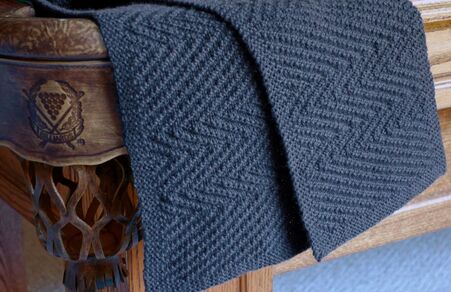
The scarf worked up quickly as the pattern is easily memorised. This was for a draped scarf which falls to about jacket length. I like this length of scarf because it has enough width to cross over at the chest for extra warmth when required but is also very easy to tuck it into the opening of a jacket.

Then when that one was done, I found I still had a lot of yarn left over so I made a second version! My brother was dropping a lot of hints that he would like a new scarf for the winter, so I worked this second one for him. This one was a little slimmer and longer as he likes scarves which can be wrapped and folded multiple times around the neck. Longer scarf lengths are so good for artistic wrapping and folding too. Have a look at this earlier blogpost for some more ideas on that.

Then later I went on to make a chunky winter version too and have included instructions for all three scarves in the pattern.
Folds in the rocks, Canadian Rockies, photo for blogpost by Moira Ravenscroft, Wyndlestraw Designs
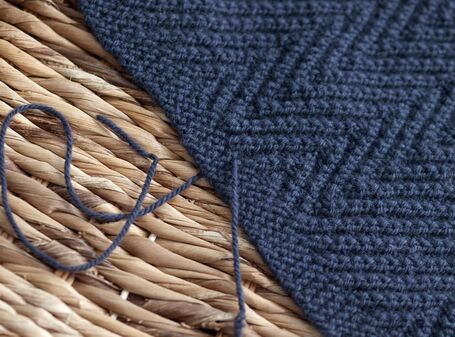
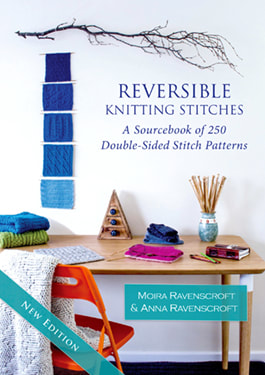
The stitch pattern was taken from our new book, Reversible Knitting Stitches and is one of those rare examples when an easy stitch looks complicated. Isn't is great when it works that way around!

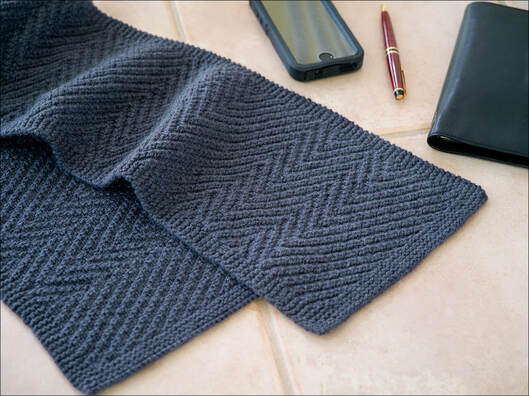
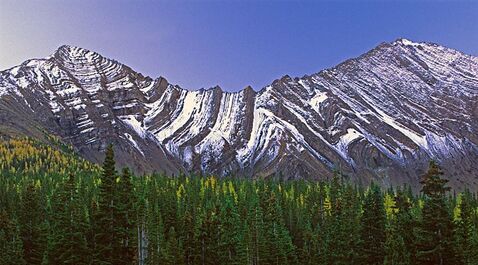
I love the texture of this stitch. It catches the light in such an interesting way and gives a wonderful graphic feel. However, as I worked I found that it also reminded me of some wonderful rock formations we had seen a while back where layers of rock had been squeezed and tilted into fan-like shapes.

I love examples like this, of a design which feels so dynamic and modern yet which has echoes of something timeless.

For more details about the Lamberhurst Scarf knitting pattern, please click here. The pattern is available for instant download from the site so you can kick-back and start your fireside knitting tonight.

Happy Knitting!

Moira
Reversible Knitting Stitches by Moira Ravenscroft & Anna Ravenscroft, Wyndlestraw Designs

Last blogpost: At the end of a row . . .
Next Up: The Four-Way Wrap

​​​​​Our book: Reversible Knitting Stitches
My Website: www.wyndlestrawdesigns.com
Keywords: Patterns/Mens Scarves,
scarf, scarves, reversible scarf, reversible pattern, reversible stitch, knitting stitch, zig-zg pattern, chevron pattern,

04 December 2013

At the end of a row.

Ocean Currents Blanket by Moira Ravenscroft, Wyndlestraw Designs
A lady walked into the knitting group I was in a few years ago and sat down at the same table as another knitter, Margaret, and myself. She hadn't been to the meeting before and seemed a bit quiet. Then she asked us, "Where do you join in a new ball of yarn?"

Almost speaking together, we both said "Usually at the end of a row...", which when you come to think about it is not especially helpful.

So when is it usual to make the join at the end of a row? When is it not?

She proceeded to pull out a baby blanket she had been working on and showed us the large holes that had developed all the way through it. She looked close to tears. She had been told by someone to "just drop and take", ie to work to the end of your yarn, drop it, join in a new ball and continue on.

And that was what she had done, quite literally. She had worked right to the very last cm and then neatly pulled the next end to line up with it so as not to waste a single scrap of yarn. Of course, as the blanket came out of the knitting bag and went away again these ends had gradually unravelled to give the sorry-looking item we saw before us.

Margaret and I sat and honed our Kitchener stitch skills, bringing in extra lengths of yarn to reattach everything and finishing all the ends off, and by the end of the evening there was quite a reasonable baby blanket and a happy knitter.

I was thinking about this the other day while finishing off the Sawston Infinity Scarfand thought it might make a good blogpost as a bit of a "Finishing Primer." So here are four scenarios for where to join in your yarn ends.
Derwent Cove Cushions by Moira Ravenscroft, Wyndlestraw Designs
#1 - Always at the end of a row

When I am working a piece of flat knitting, then I will almost always add a new ball of yarn at the end of a row. The yarn tails can then be worked into the spare material at the seam after the work is completed, and sometimes can even be used to help with the joining together of the pieces.

Then there are some stitch patterns such as Stocking Stitch/Stockinette St which can be really spoilt if there is a join in the middle of the row. It is hard to disguise the bulk of any yarn ends behind Stocking Stitch no matter how neatly they are worked in, so I always want these to be at the side where they will be less noticeable.

The same goes for Garter Stitch, as the joins can often disrupt the regular surface of the patterning. So I will position these joins at the side as well, as in the Derwent Cove Cushions above.

Colour work usually requires yarns to be brought in at the sides, except for specific techniques such as Intarsia. If there are many colour changes in a small area then I might choose to stagger these a bit, if possible, but usually it is best if these are right at the end.

For circular knitting, a new ball can be joined in at the end of a round or at the half-way point, which equates to the other side "seam".
Half-way point for end of yarn - diagram by Moira Ravenscroft, Wyndlestraw Design
And to figure out if you have enough yarn to get to this point, plan for this as soon as you see the yarn ball looking a bit 'thin'. Unwind the remaining length of yarn and double it over to find the half-way point. Make a loose overhand knot at this point.

​Now knit to the other side or to the next position where a join could work. Did you get to the knot and have to undo it already?

If so, there is insufficient yarn to work another row and you should join in a new ball. If not, then undo the previous knot, fold the yarn end in half again and put a new loose knot into position to repeat.
Elizabeth Scarf by Moira Ravenscroft, Wyndlestraw Design
#2 - Almost at the end of a row

I don't like having joins at the very edges of scarves, shawls, afghans and throws. So I will always position these at the inner edge of a border, or somewhere inconspicuous about 2-3cm/1 inch in from the Selvedge/Selvage.

In the Elizabeth Scarf above, this is where the Garter Stitch border meets the central pattern.
Lamberhurst Scarf by Moira Ravenscroft, Wyndlestraw Design
Also, I'm a little unconventional as to my method of joining in a new yarn end at this point. What I do is to leave the old yarn tail on the Wrong Side (WS), then I bring in the new ball on the Right Side (RS). I dangle the new tail there, take the yarn to the back and loop it underneath the old tail to lock them together. Then I continue on.

This means that I have the two yarn tails at opposite sides of the work and can give them a gentle tug to hold that join snugly without having to knot the ends together. Then later I use a tapestry needle to take the new yarn tail through the work to the back and finish it off. (BTW, this is a teaser look at the new Lamberhurst Scarf pattern coming soon!)
Finishing off ends, Sawston Cowl by Moira Ravenscroft, Wyndlestraw Designs
#3 - To suit the pattern

There are some patterns that really lend themselves to using every last piece of yarn. Cables are one of those. I will work to the centre of a cable crossing point knowing that I can later bury the yarn end deep into the textural folds on the WS of the cable design.

Ribbing is another case in point, as it is really easy to lose a yarn end down in the depths of the purl stitches in the rib, as in the Sawston Infinity Scarf pictured here.

Some lace designs work well this way too. Just make the transition between the old and new yarns at a point where there is enough space to weave the yarn tails into the back of the work. This often gives a better result than having multiple yarn ends being finished at the same location down the side, especially since the front edges are such a real feature of a lace shawl.

This type of joining is especially useful for reversible designs where both sides are the "Right Side".
Ocean Currents Blanket by Moira Ravenscroft, Wyndlestraw Designs
#4 - Almost anywhere

However, there are many knitting projects where it really doesn't matter where you join in your new yarn. Rugs and blankets with strongly textured patterns would be good examples of this since the yarn ends will be safely hidden away on the wrong side. I often take liberties with yarn tails if the rows are very long too, as it would use up too much yarn to wait until you got to the other side.

Spinners will often meld a new ball of yarn with the old by splicing the ends together and gently working the twist across the join so that it holds securely. That way you can join in a new ball almost anywhere. This is especially useful for all-wool yarns, but I wouldn't normally advocate that for slippery yarns or machine-washable fibres which have been coated or treated to resist felting.

For these yarns I would suggest using a tapestry needle to work the yarn tails in opposite directions, either working at a bit of an angle or "Swiss Darning" the yarn end into the back of the stitch so that it is as neat as possible. I like to double back and just work the final end in the opposite direction to make sure everything is really secure, possibly even drawing the yarn through a strand to hold that end firmly in place.

Hopefully, if you carefully plan these ahead of time, then you will always have wonderful inconspicuous joins - and no holes in your next project.

I'll be back next time for the final blogpost of the year with news of that new men's scarf I talked about earlier.

Happy Knitting!

Moira 
Reversible Knitting Stitches by Moira Ravenscroft & Anna Ravenscroft, Wyndlestraw Designs

Previous Blogpost: To Infinity and Beyond...
Next Up: The Lamberhurst Scarf

​​​​​Our book: Reversible Knitting Stitches
My Website: www.wyndlestrawdesigns.com
Keywords: Knitting/Tips & Techniques,
finishing techniques, joining in yarn, joins, sewing in ends, end of a ball, do I have enough yarn, zR-231114

LinkWithin

Related Posts Plugin for WordPress, Blogger...