There are days when I truly astonish myself.
What did I do that was so amazing, you ask? Well... drum roll... I fixed a sewing machine!!! OK, you can stop laughing now, but this happens to be the first time I have ever accomplished this feat.
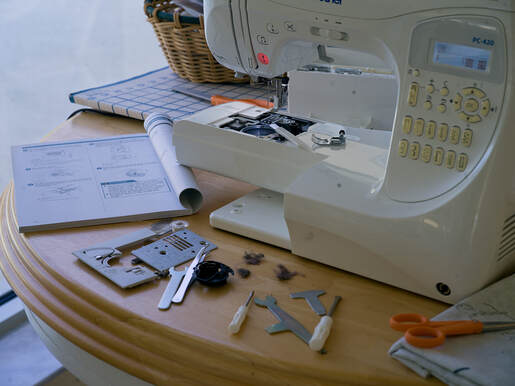
I had recently finished making a skirt and all had gone well. Even a dreaded buttonhole or two had gone without a hitch. However, today was different. I started the machine only to be greeted by a horrible clattering noise! The thread was firmly jammed under the feeder plate.
I snipped away at the tangle until I managed to pull it free and remove the small cut threads. I started again, very gently, only to be greeted by another loud clunking sound and another jam... This time I could not remove the trapped fabric without cutting it away. Thank goodness I was working with an oddment and not the final fabric!
What did I do that was so amazing, you ask? Well... drum roll... I fixed a sewing machine!!! OK, you can stop laughing now, but this happens to be the first time I have ever accomplished this feat.
I had recently finished making a skirt and all had gone well. Even a dreaded buttonhole or two had gone without a hitch. However, today was different. I started the machine only to be greeted by a horrible clattering noise! The thread was firmly jammed under the feeder plate.
I snipped away at the tangle until I managed to pull it free and remove the small cut threads. I started again, very gently, only to be greeted by another loud clunking sound and another jam... This time I could not remove the trapped fabric without cutting it away. Thank goodness I was working with an oddment and not the final fabric!
OK, I thought. I’ll lift off the feeder plate and then I can get to the trapped threads. I’ve done that before so didn’t feel phased by the prospect. However, it became clear that the culprit was a large build‐up of fluff in what the handbook told me was the “spool holder”.
Apparently I was supposed to clean this on a regular basis! Well, dust bunnies and I are old friends and the idea of stripping down a sewing machine to remove fluff build‐up had never occurred to me before.
Did you know you were supposed to do this? It was certainly news to me but then I suppose I can’t actually remember ever reading the instructions so it’s not surprising I hadn’t stumbled upon this piece of information before...
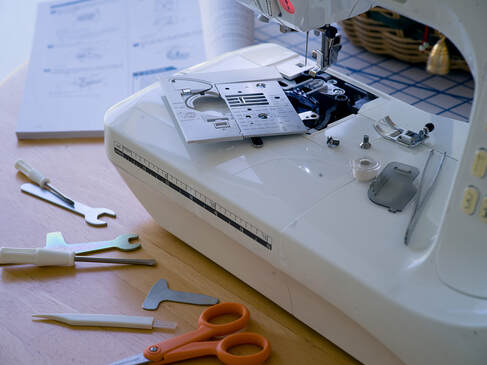
The manual talked about turning the handle until various rotating parts lined up, then removing the spool holder assembly and cleaning underneath. I gulped, then started removing parts until there seemed quite a collection. By now, I was feeling alarmed and wondering just how many of these would go back where they came from!
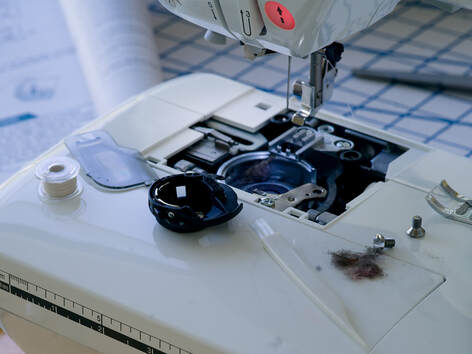
However, 15 minutes later the spool holder was removed to reveal a good‐sized pile of fluff inside. That was quickly removed so all I had to do now was reassemble it all...
I took a deep breath and before much longer all parts were back in again. Phew!
However, 15 minutes later the spool holder was removed to reveal a good‐sized pile of fluff inside. That was quickly removed so all I had to do now was reassemble it all...
I took a deep breath and before much longer all parts were back in again. Phew!
Well, I expect by now those folks with an engineering bent will be laughing themselves silly, but it felt like a major step for me! My first (successful) taking apart of a sewing machine.
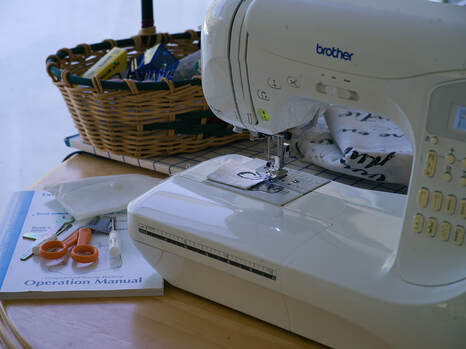
I plugged it in, turned it on and prepared to sew the sample again. A quiet purr came from my new happy machine and a perfect seam formed without a single snag or clunk.
Mission accomplished! Let the sewing commence!
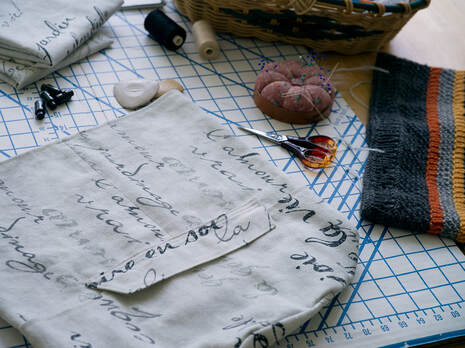
Oh and if you’re wondering, this will be the lining for my new bag, the Westernesse Bag coming soon. More about that next time!
Until next time – Happy Knitting!
Moira
Mission accomplished! Let the sewing commence!
Oh and if you’re wondering, this will be the lining for my new bag, the Westernesse Bag coming soon. More about that next time!
Until next time – Happy Knitting!
Moira
 | Last Blogpost: Happy Christmas everyone! Next Up: New pattern – Westernesse Bag Our book: Reversible Knitting Stitches My Website: www.wyndlestrawdesigns.com |
Keywords: News & Updates, Patterns/Bags,
sewing machine maintenance, bag lining, fabric linings,
sewing machine maintenance, bag lining, fabric linings,
