30 August 2019

Where we like to knit

Moira Ravenscroft, Wyndlestraw Designs – Moira Ravenscroft & Anna Ravenscroft, Grönsöö Palace, Enköping, Sweden
If you have ever perused the deepest recesses of my website, you will see that I have a gallery of places where I like to knit, courtesy of my husband Tim's photos. This gallery spans a long time period from shots of me knitting by a Scottish loch when our eldest daughter was at Edinburgh University nearly 15 years ago right up to earlier this year in Cornwall.

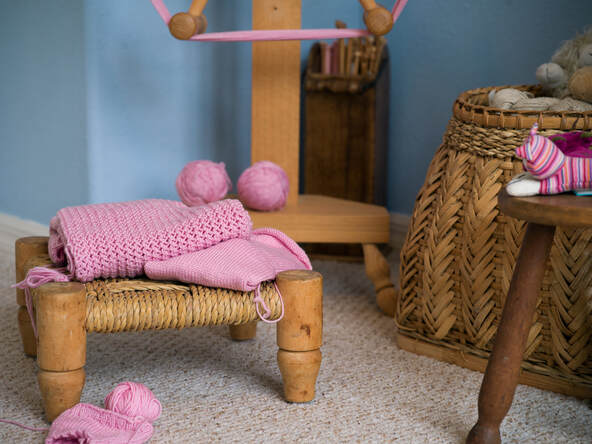
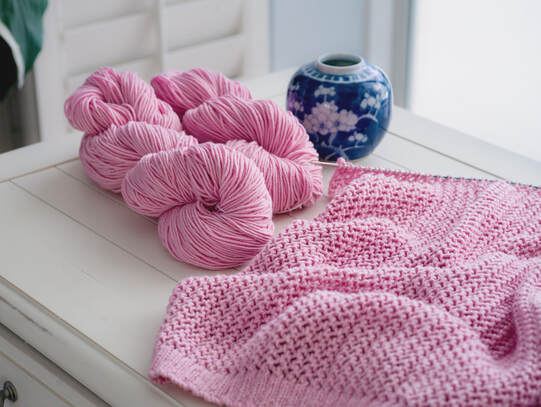
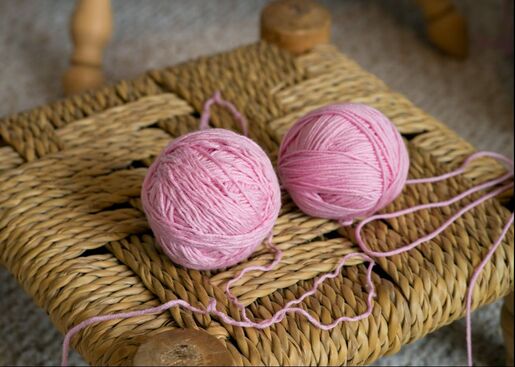
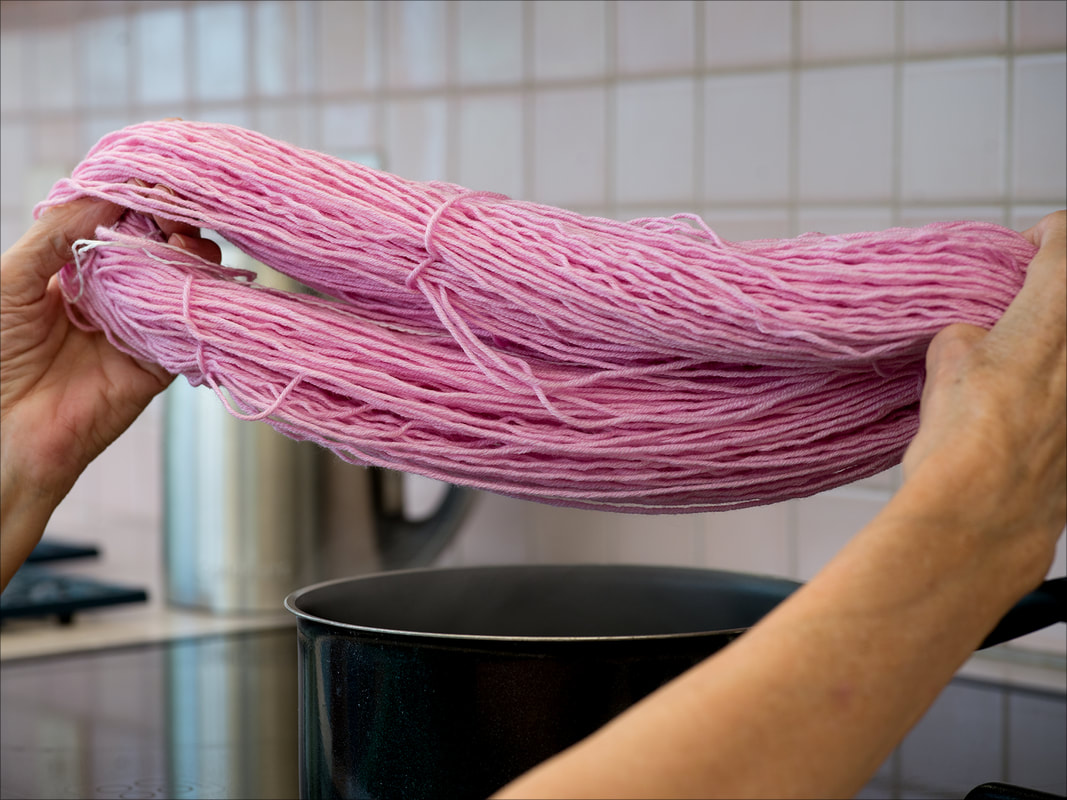
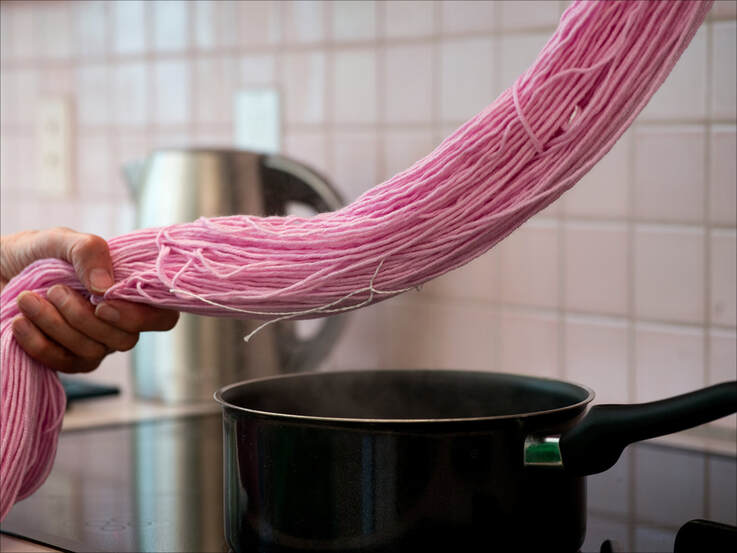
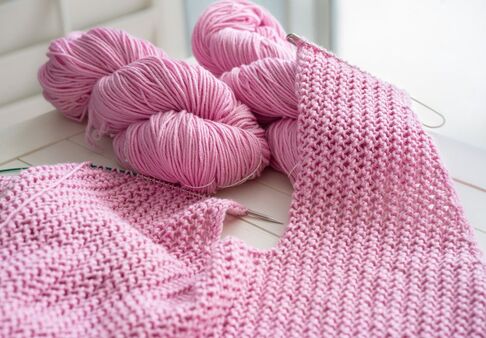
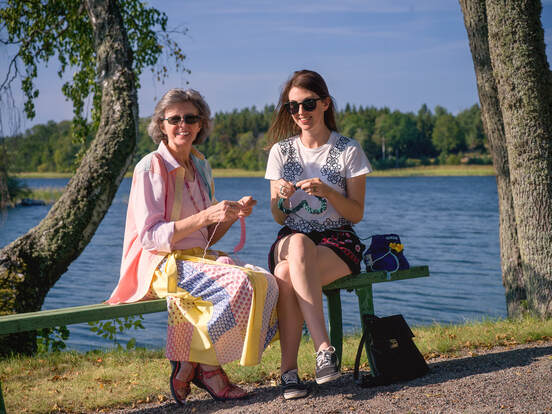
Well, it's time to add another photo to that collection! However, this time Tim has captured a lovely photo of both Anna and I knitting in Sweden. In the photo, I have just started a new pink scarf using the yarn that I was straightening in the last blogpost. Then by co-incidence, Anna has also just cast on a new project! This is going to be a soft cowl in a beautiful variegated green yarn.

It has been gloriously sunny and warm during our visit to Sweden this year and it has been so enjoyable to be able to sit and knit by the side of the lakes and rivers here. In the photo above, we are in the gardens of Grönsöö Palace on the shores of Lake Mälaren just to the west of Stockholm.
Chinese pavilion at Grönsöö Palace, Enkoping, Photo by Tim Ravenscroft, Wyndlestraw Designs
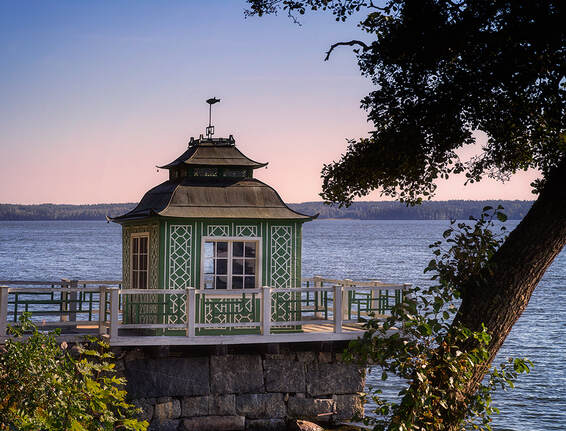
Grönsöö is a beautiful palace with formal gardens in a stunning variety of colours, apple orchards and an ancient lime tree which was planted in 1623! There is also a most unusual Chinese pagoda which was built in the late 18th century. Inside the pagoda, flower decorations have been formed from groups of shells which is a really unique feature of the structure.
Grönsöö Palace garden, Sweden, Photo by Tim Ravenscroft, Wyndlestraw Designs
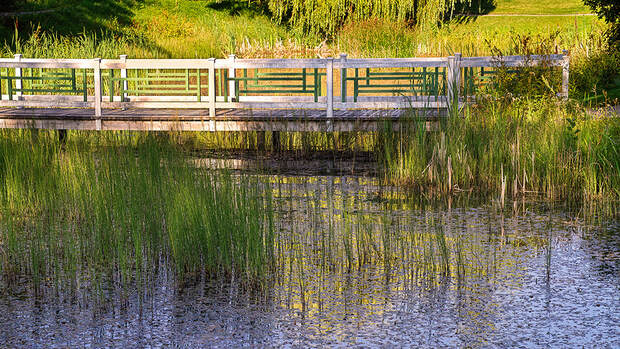
This oriental theme has been echoed in other places in the garden with ponds and bridges which resemble both Japanese gardens and Monet's famous lily pond in Giverny, France.
Lake Mälaren at Grönsöö, Photo by Tim Ravenscroft, Wyndlestraw Designs
Grönsöö is situated at the end of a long spit of land and originally you could only reach it by boat from the lake. However, there is now a bridge that crosses over a wide expanse of bullrushes and grasses to connect it to the mainland. I stood on the bridge for quite a while and it was mesmerising watching the strengthening wind playing through the grasses and making them dance in the breeze.
Eskilstuna woodland, Photo by Tim Ravenscroft, Wyndlestraw Designs
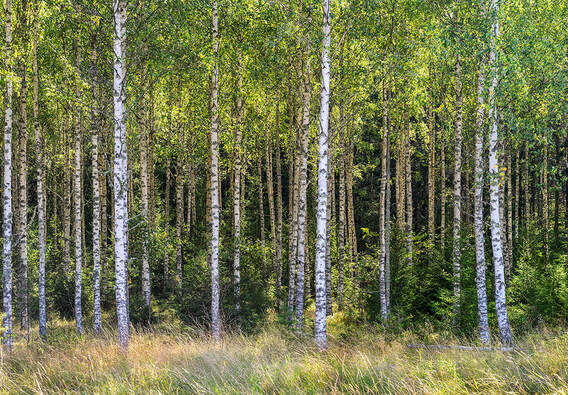
Then on our way back to Anna's house on the other side of the lake, we passed a large stand of silver birches. They are such graceful trees, especially when grouped into such an impressive group as this.

I hope you have enjoyed seeing some of Tim's latest photos from our travels. Please do go and find him on Flickr if you'd like to see more of his work. I'll be adding the latest photo of "Where we like to knit" to the knitting gallery here, so if you have an odd minute or two please do have a browse through those pictures.

Well summer is rapidly drawing to a close and September is coming very soon. Next time, I am going to start a new series with some quick knits for autumn! This will include ideas for some cozy cowls to try to keep those pesky chills at bay, then I will be following up with hats and scarves that you can start now ready for the winter ahead.

Until then – please keep safe if you are in the path of the coming storm!

Moira
Keywords: Notes & Travels,
Sweden, trees, lakes, AnnaRavenscroft, AnnaAlway, knitting, #whereIliketoknit,

18 August 2019

Straightening crinkly yarn

Yarn Winding 1, Photo by Moira Ravenscroft, Wyndlestraw Designs
As you may have seen from my last few blogposts, I have been knitting a pink cardi recently – despite the heat and humidity in this part of Florida! Summer is brutal here and it can make you seriously question why you are trying to knit anything. Still, it would be a sad day that didn't involve at least some knitting, wouldn't it... 

So now that I am mostly finished with my cardigan and just needing to sew the pieces up, I can safely recycle the yarn I used for my samples. I always like to work a number of large-sized samples and leave them in place while I am working the main garment in case I want to compare them with the work in hand. 
However, now would seem a good time to take those apart and prepare the yarn ready to use for something else. 
Lace Cardigan – a Work in Progress in Pink, by Moira Ravenscroft Wyndlestraw Designs
So here's the wonderful thing about knitting: it might take a few evenings to knit something, but it takes only a few minutes to undo! That was something I learnt to appreciate when I was weaving. You would spend ages scrambling around under a loom or tie-ing up the warp. Then finally you could start your project. However, if you saw a mistake or wanted to change something, then it took an absolute age to undo. 

No problem with knitting. It's as easy as pie, but you do need to do some work to get your yarn back so it is nice and smooth again. So if you don't know how to do that, read on: 

Firstly, you need to wind your yarn into a skein. I actually do this in two stages: first I wind it into a ball, then I skein it up. It just seems to work slightly better that way than trying to deal with the undoing and skeining at the same time. 

At both stages you need to make sure the yarn doesn't get over-stretched or it won't look the same as it did the first time you worked with it. ​
Yarn Winding 3, Diagram by Moira Ravenscroft, Wyndlestraw Designs
Yarn Winding 4, Diagram by Moira Ravenscroft, Wyndlestraw Designs
Yarn Winding 5, Diagram by Moira Ravenscroft, Wyndlestraw Designs
  • So, start by finding an end to work from. In the case of my samples, I didn't cast them off so it was simple to undo, but with a finished piece you might need to discover where the yarn tail was sewn in and prise it free. Tease out a little yarn and wrap it around a couple of fingertips a few times.
  • Take it off, pinching it between your thumb and forefinger so it doesn't break free.
  • Now start to undo your knitting, taking time to appreciate the little pop-pop sounds the stitches make as they are released from the knitting! Wrap the yarn around the tiny ball, trapping your thumb and finger in place so they make a little space between the strands of yarn.

Yarn Winding 6, Diagram by Moira Ravenscroft, Wyndlestraw Designs
Yarn Winding 7, Diagram by Moira Ravenscroft, Wyndlestraw Designs
Yarn Winding 8, Diagram by Moira Ravenscroft, Wyndlestraw Designs
  • Wrap about 5-7 times, then remove your fingers, turn the ball slightly and wrap in a new plane.
  • Keep doing this until the ball is large enough for you to hold between your thumb and two fingers. Then when it is a bit larger again, hold it between your thumb and three fingers, wrapping the yarn over all your fingers holding the ball. This adds extra space into the ball so that when you take your hand away, the yarn will be able to relax and not be stretched.
  • Continue to wind until you get to a yarn tail, then stop. Set that ball aside and start a new one, even if the ball is only very small. Continue undoing your knitting until you have reached the point where you either made the mistake / changed your mind / reached the end!
  • If you are carefully undoing a small section back to where you made a boo-boo, then stop winding a row or so before that point and capture the knitting onto your needles. Then gently undo the work, stitch-by-stitch until you get to the place in question. It is all too easy to undo too much knitting as it happens so fast!
Yarn Winding 2, Photo by Moira Ravenscroft, Wyndlestraw Designs
So now you have your yarn ready in balls and waiting for the next stage. Have a look at the yarn – can you see how it retains a crinkly "memory" of the knitting? In the photo above, the ball on the right has not been used yet, while the one on the left has just been unwound from a sample. If you tried to knit with this yarn, your knitting would not be smooth or even. Worse, after washing, those waves would relax and your knitting would spread.

So we need to smooth out the wrinkles, which is easy in the case of yarn. Shame it's not quite so easy to smooth out the wrinkles you see in the mirror every day!
Reeves Skein Winder, Photo by Moira Ravenscroft, Wyndlestraw Designs
  • To do this, we need to first wind the yarn into a skein. I covered that here so follow those notes to wind the ball into a skein. Now, if the first ball was a large one your skein might be big enough to work with already. If so, then add some figure-of- eight ties as I showed in that blogpost and set the skein aside.
  • However, if you have lots of small pieces of yarn, start by winding the first onto the skein winder, then tie the next one on with a large and very purposeful-looking bow (you want to be able to find this easily later). Now keep on going until you have a good-sized skein. ​
  • Tie a piece of waste yarn to the very last piece of yarn so you can identify that point when you come to undo the skein, and again secure the whole skein with figure-of-eight ties.

Steaming a skein of yarn #1, photo by Moira Ravenscroft, Wyndlestraw Designs
Steaming a skein of yarn #2, photo by Moira Ravenscroft, Wyndlestraw Designs
  • When you have all your skeins prepared, adjourn to the kitchen. Put the kettle on, first to make a cup of tea, and then put the remaining boiling water into a wide, flat saucepan.
  • Carefully hold the first skein over the top of the saucepan and "bounce" the centre of the skein up and down or side-to-side in the steam. You will see when it starts to relax a little as the strands will get straighter and your hands can move a little further apart.
  • Move away from the saucepan, waft the skein in the air to cool it a little, then move your hands to position another part of the skein into the middle. Steam that part and continue doing this until the whole skein shows soft, even yarn with no crinkles.
  • Repeat this process with every skein, then set them in an airy place to cool and dry. Don't weight them, but just let them rest until they are ready to use. Then off you go! You're ready to start knitting / reknitting as the case may be.
Lace Cardigan - a Work in Progress in Pink, by Moira Ravenscroft Wyndlestraw Designs
I hope you enjoyed reading about the delights of reusing yarn. I always find it a very satisfying process seeing old, crinkly yarn turning into fresh new wool! ​
We are going to be off on our travels again soon, this time to the UK and then to Sweden to catch up with our daughter Anna and see some of the lovely knitting she has been producing recently. So I'll post my next blogpost from there!
 
Until next time – Happy Knitting! 

Moira 
Keywords: Tips and Techniques,
washing yarn,  yarn, washing, straightening yarn, steaming yarn, reusing yarn, ball winding, yarn skeins, winding yarn, skein winding, wool, 

LinkWithin

Related Posts Plugin for WordPress, Blogger...